It's a long time ago that I wrote on this blog.
Nothing happened? ... As if!
In the beginning of September just after the Festival Oude Muziek Utrecht I've attended the Medieval Keyboard Meeting and took part in the workshop using my organetto.
Very inspiring days with true experts on late medieval music and instruments. Also a lot of fun with absolutely wonderful people.
Of course the organetti of Stefan Keppler / Wolkenstayn were far superior.
I've got some useful hints for improving mine.
During the summer I was informed that my name reached the top of the waiting list of the viol-building course of CMB in Puurs. Starting for me at the 8th of september.
My first project was a 'Hommel' (don't know an English name for it). A wire-strung plucked instrument mainly used in folk music with its origin before 1600 (mentioned by Praetorius in his Syntagma Musicum)
Three unisono melody strings and 3 drone's (Dgd).
Finished last saturday.
Next project will be a discant after Pieter Rombouts (1708)
Showing posts with label organetto. Show all posts
15 October 2013
27 August 2013
23 August 2013
Organetto carrier
An old backpack frame transformed in an organetto-carrier.
(The same of which I used the straps to try playing walking/standing)
I made a plywood support attached to the frame.
Of course I'll use some protective cover for real use but for the picture it is nicer without....
18 August 2013
Portative? Experimenting with belts
Would it be feasible to play my organetto standing/walking?
I've done some experimenting using straps from an ood backpack.
The waistband takes most of the weight, supported by a piece of would with a groove fitting the side of the organetto
10 September 2012
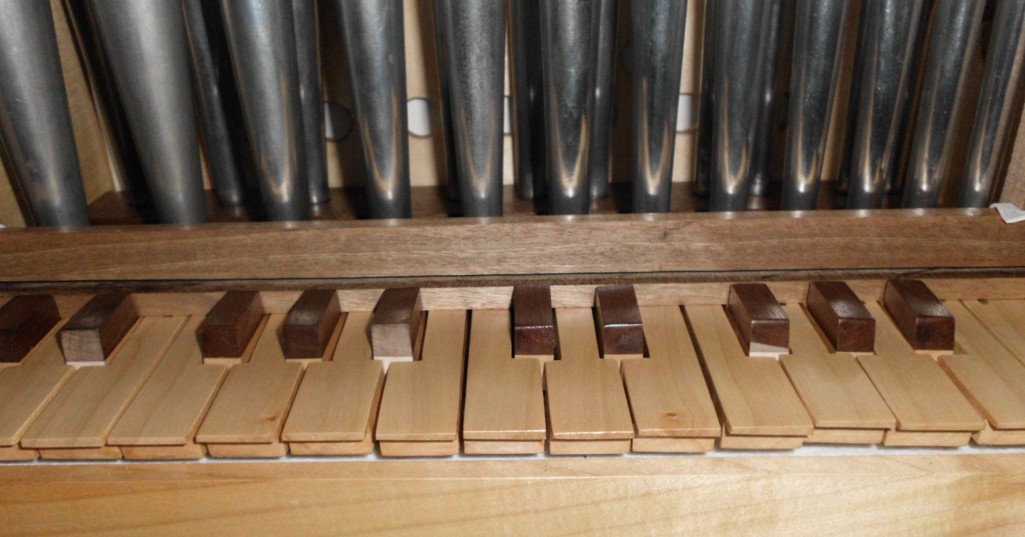
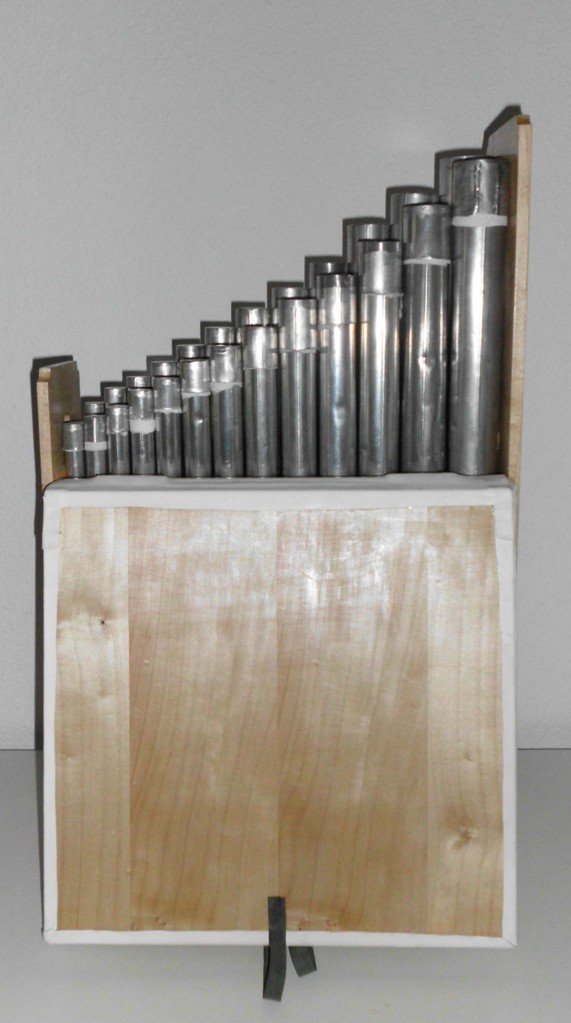
some pictures of the finished organetto
03 September 2012
Nearly there?
All parts assembled and more or less functioning
While trying to intonate the pipes I discovered that any small leak in the stop destroys the tone completely. Putting some soft tissuepaper around the pipes works for now.
Still have to solder some of the stops of the pipes in the upper octave.
The lower octave starts to work.
I'm experiencing a rather ennoying problem with the bellow. The gussets are a bit to large permitting the bellow to open a bit to far. Without any pressure the bellow opens and closes smoothely, but while under pressure the folds tend to plop outward.
01 September 2012
bellow (4)
It took some time to discover the best form for the gussets (funny word. 'zwikkels' in dutch. Not a word one can find in a pocket dictionary...)
And finally the top.
I hope all seams prove to be airtight tomorrow...
Tonight I fitted the other six.
And finally the top.
24 August 2012
20 August 2012
Bellow (3)
Is Titebond at 33 degrees celcius 'hot glue'? It's definitely hot!
Most dificult part is still to come.
I hope the parts will fit together. Getting it air-tight won't be easy.
16 August 2012
Bellow (2)
Leather has arrived!

13 August 2012
Bellow (1)
I want to construct a bellows with multiple folds.
Designing it is not as easy as I thought/hoped.
My first experiments with cardboard and ducttape..
Not too bad but when the bottom is entirely unfolded the sides are not.
One should be able to calculate the correct dimensions but I've not yet discovered how.....
11 August 2012
Pipes
After mounting the pipeholder I could determine that there is (just) enough space for the 25 pipes
The pipes will need quite a lot of work. Some of them are bent or dented and all of them have become dull over time. Polishing with some steelwool is easy, undenting and intonating! will be quite a bit harder.
First I'll have to experiment on construction of the bellows and finish the keys.
08 August 2012
Valves (3)
Valve springs
To be able to produce 25 equal valve springs I made a simple tool to bend the wire.
(A description of the tool can be found in Bouwbrief 91, p. 13/14: Materiaal en Gereedschap 45: Hulpstuk voor het maken van speelklep veren. author: Johan de Vries)
Material used: 4 m. of spring steel wire of 1 mm diameter. Length of the legs 5 cm.
The steel wire is bent over a pin of 6 mm. (1 loop) by means of a lever.
The result: a pile of 28 springs
Labels:
organetto,
portative organ,
tools
05 August 2012
The sides
Preparing the sides...
I don't have clamps the size of the width of the instrument so I use smallness of the cellar.
03 August 2012
The valves (2)
Felt and leather not yet fitted but otherwise finished the valves
And glued dark pieces of nut on the chromatic keys. Starting to look real!
02 August 2012
The valves (1)
The beginning of the valves very crudely sawn from old left-overs
Guidance pins mounted and the valves planed to shape
(Mind you, you're looking to the underside of the instrument to be....)
31 July 2012
Keyboard
The - short - keys:
Hope it will work.
At the back end turing on a bar on brass pins.
The keys will directly push the pins opening the valves below. I hope these push-pins will sufficiently eliminate lateral movement of the keys.
13 July 2012
Spaghetti
Oeps, made an error with the depth of the holes.
The air-ducts of the front-row of pipes should be in the upper layer, the back row in the bottom layer.
I did it the other way around.
Corrected that by plugging some holes after cutting the air-ducts with a router (width 10 mm, depth 12 mm)
10 July 2012
hundred holes
25 for the pins and the rest for the wind-holes.
Hopefully they all end in the right layer!
Iĺl use a router to cut the wind-ducts in the two layers.
Hopefully they all end in the right layer!
Iĺl use a router to cut the wind-ducts in the two layers.
Subscribe to:
Posts (Atom)