Showing posts with label viola da gamba. Show all posts

04 October 2010

Cecus non judicat de coloribus

Graindelavoix's  CD on which my bass-viol was uses has been released!

Cecus -  Colours, Blindness and Memorial (Glossa GCDP32105)
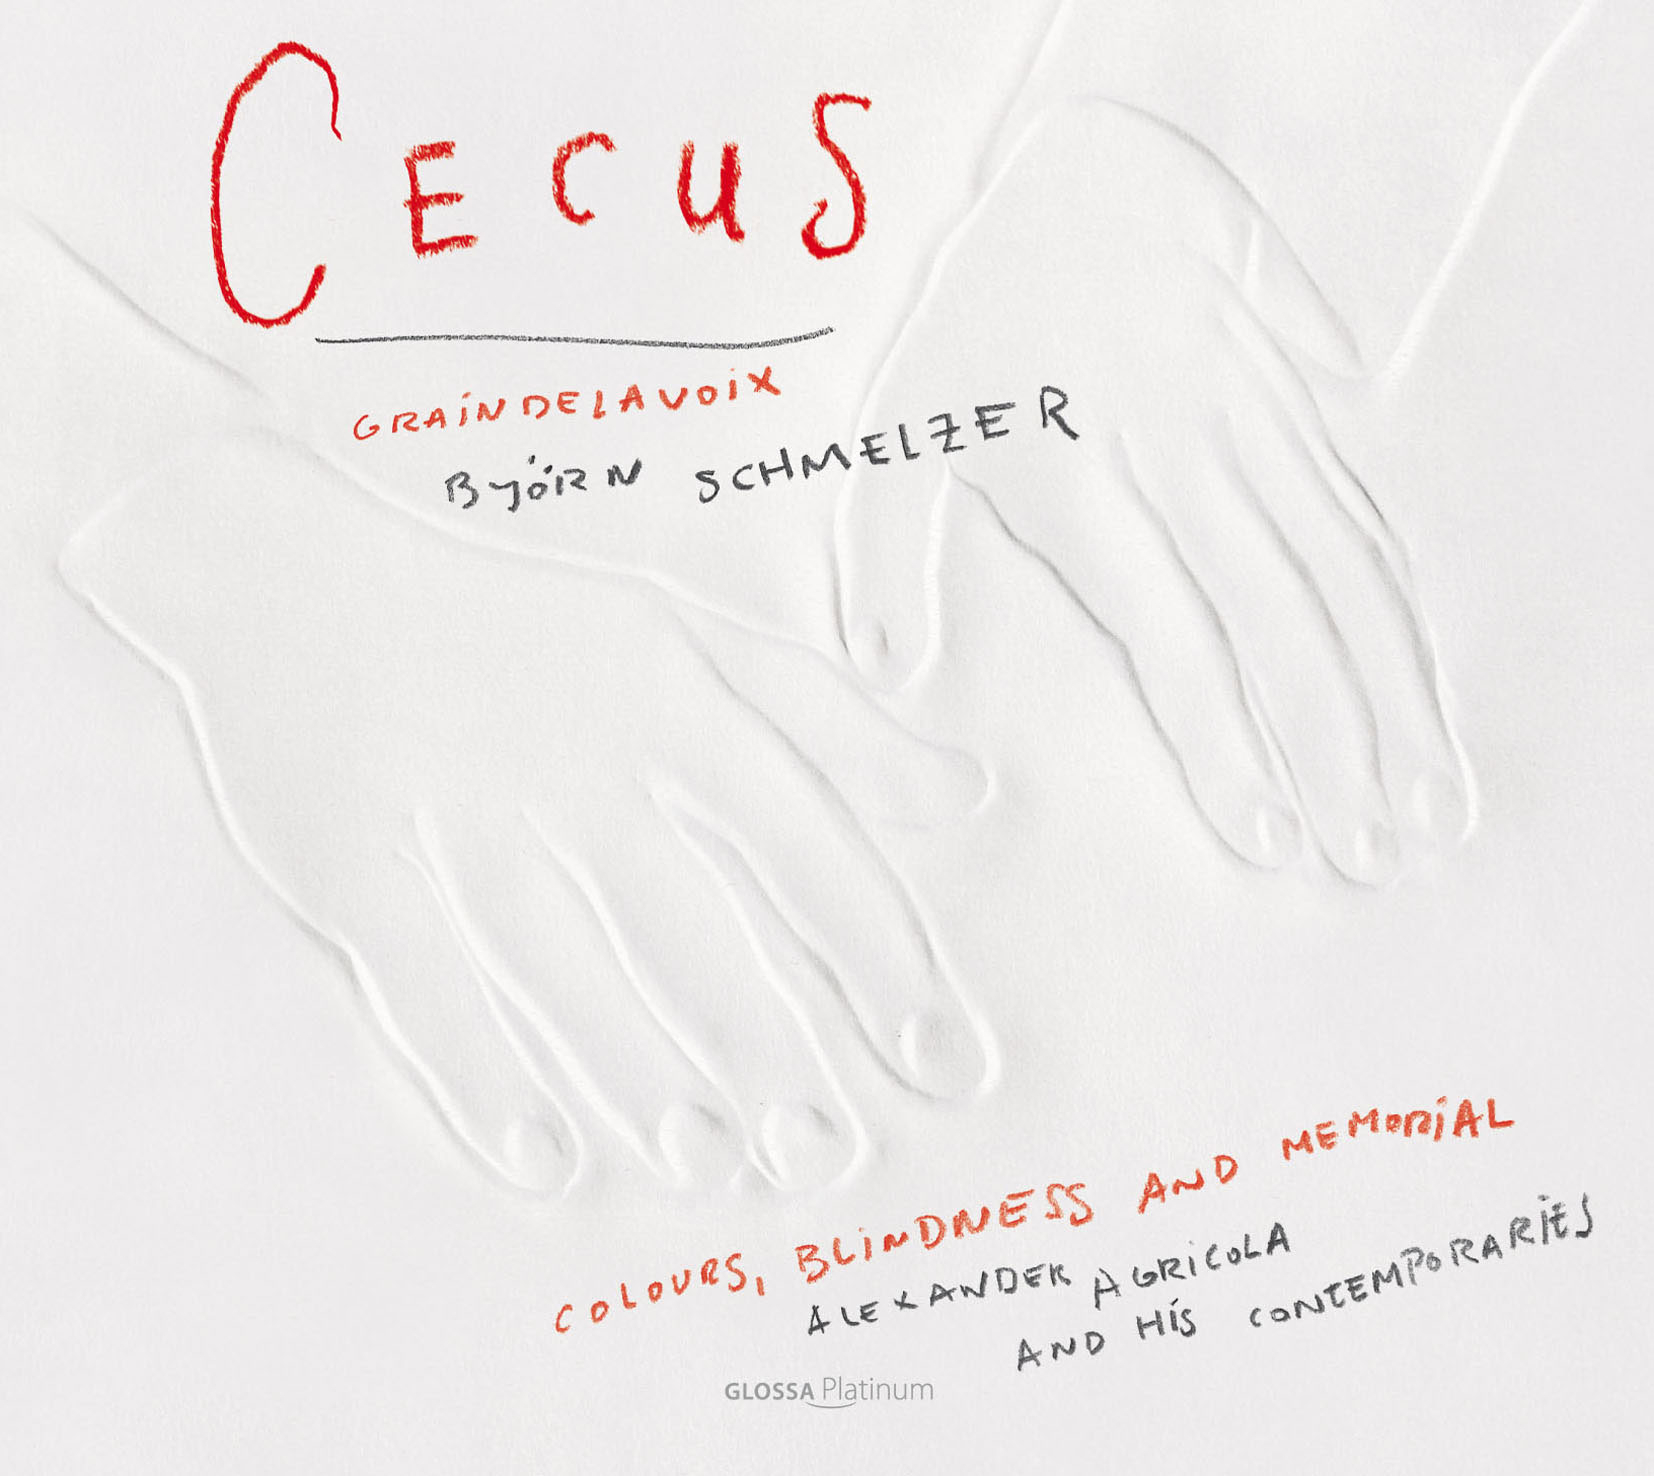
It's very rewarding to hear Graindelavoix exelent interpretation and performance of pieces by Alexander Agricola, Pierre de la Rue, and others contemporary composers.


02 March 2010

MoodioTV webcast with my viol

2 weeks ago Thomas Baete used my bass-viol for recordings with graindelavoix.

A webcast on MoodioTV with some music and an interview with Björn Schmelzer.


Can't wait to hear more....

01 February 2010

Second videoclip

And the second clip Ernic and I recorded last week.
It contains to pieces from the Musical Humours by Tobias Hume (1569-1645)
  • A Meditation
  • The Duke of Polland his galliard

Sound only is available as hume.mp3 (3.5 Mb, 192 kbps/48 kHz)
Obviously the sound of this viol is quite different from the more usual later more baroque instruments.
I myself like the more 'transparent' sound over the more 'warm' sound of later instruments.
Feel free to comment!


28 January 2010

See and hear...

Last weekend - with the help of Ernic - I've recorded a soundsample of the Linarol viol.
Sound quality will of course greatly depening on the quality of the computer's speakers.
Sound only is available as ortiz.mp3 (3 Mb, 192kbps/48 khz)


I think this piece - Recercada tercera from Diego Ortiz' Tratado de glosas sobre clausulas y otros generos de puntos en la musica de violones (Roma, 1553) nicely fits in time and character with this instrument.
Passages on the lowest to highest strings provide samples of the full range of the instrument.

23 January 2010

Higher bridge

After a couple of months the top has sunken in a bit (approx. 4 mm at the high side and 2 mm at the low side of the bridge)
As a result the strings (especially the 1st (d') and 6th(D) rattled slightly against the frets.

To correct this I've made a slightly higher bridge (Same wood, same model. Making a copy of the first one took a lot less time than the first)

12 November 2009

Damn! A buzz!

After a lot of playing I noticed a slight buzz. It seems that one of the ends of the upper bar has loosened from the top. If that proves to be true my first major repair is iminent....

Luckily the buzz only seems to appear when tuned low. I've played at A=415 with other violists fore some days. Retuning to A=440 made the buzz disapear.
At A=415 I could stop the buzz by putting a piece of a cork between the fingerboard and the top.

29 October 2009

Yes! I'm playing a venetian viol!

Finished!

Current strings:
d' 0.65 (fretgut)
a 0.85 (fretgut)
e 1.16 (Aquila HR)
c 1.48 (Barocco)
G 1.80
D 2.50 (real gut)

a and d' have to be replaced by real strings and the G is a bit too thin. 1think I'll order 1.86
The rest is playing quit well.

Frets:
1 1.20
2 1.05
3 1.05
4 0.90
5 0.90
6 0.80
7 0.75

28 October 2009

Tomorow will be the day!

All parts except the bridge are ready.

I didn't make the tailpiece hook as Francesco did, but simply put an iron pin in the far end of the tailpiece.

Tuning pegs are cut to 1:25 cone and fitted in the pegbox.

Tomorow I'll collect all the parts and the strings and put everything together.

String gauges I would like to use for a start:
1st: 0.64 mm
2nd: 0.84 mm
3rd: 1.12 mm
4th: 1.40 mm
5th: 1.86 mm
6th: 2.50 mm
(Ranging from 7.5 kg at the low end to 7.9 at the high end, thus tension of upper and lower strings nearly equal)

I don't have all those sizes at hand so I'll have to improvise a bit.

21 October 2009

tailpiece, pegs and varnish...

Monday I made the tailpiece.
Don't exactly know how I'm going to make the pin and hook to mount it to the body.
(Taking an iron rod, flattening the end en filing a thread on it .....)

Yesterday evening the second layer of varnish and turned the first 2 tuning pegs.

18 October 2009

the dragon is starting to shine....

After the ground of several layers tonight I applied the first layer of varnish.
The neck is not going to get any varnish. It would get usage marks anyway an maybe get sticky and dirty. I think I'll put danish oil or wax on the neck instead.
Quite convenient to have some part that stays clean of varnish as a 'grip' while varnishing.

17 October 2009

the ground

Drying after the first layer of the ground has been applied.
(10 g gum arabic dissolved in some water and 1 egg-white)

The wood is beginning to show it's real color.

15 October 2009

vernice bianca

Today I've prepared my own version of vernice bianca.
I left out the honey and rock candy (sugar).
  • Dissolved approx. 5 gr of arabic gum in some water (aprox. 20 ml? heated 'au-bain-marie')
  • after cooling downd I added approx. 25 ml of egg-white
I don't like to have these hygroscopic ingredients in the surface of my instrument.

After letting it rest for some time I applied it on some prepared/sanded leftovers.
I already made some samples with a glue-ground and a ground of pure egg-white so after drying I'll compare and choose the method for the real instrument.
left the egg-white and right the gum/egg mixture. The vernice is a little more viscous and less clear than the pure egg-white. Feels a lot less gelly than the egg and is easily applied with a brush.

14 October 2009

recipes

I found the following recipe in the discussion on http://www.fiddlehangout.com/forum/topic.asp?TOPIC_ID=5979

For vernice bianca, melt about 20 - 25 grams of gum arabic in a double boiler or bain-marie, add a teaspoon of honey and let it cool down, then blend in an egg white and strain it. Sacconi used it as a ground on his instruments, as do a number of modern makers, purely for the influence on tone..

And another one at http://woodworkerszone.com/igits/showthread.php?t=7299

The following is taken directly from American Lutherie #10 in 1987 when interviewing Jack Batts. It is also in The Big Red Book vol 1 from Guild of American Luthiers.

25g of gum arabic,
1/2 teaspoon of honey,
1/4 teaspoon of rock candy,
about 100cc of water,
albumen from one egg white.

"Crush the rock candy. Warm the water but do not boil. Slowly add the gum arabic, stirring constantly until dissolved. Add honey and rock candy. Strain the mixture through a fine cloth (handkerchief or sheeting) and let cool. While the mixture is cooling, whip an egg white into a meringue and turn the bowl on edge. Allow the mixture to settle out and remove the liquid that separates. This is the albumin. Add the albumin to the cooled mixture and stir well. Use this Vernice Bianca immediately and discard the rest. Sacconi advocated that after potassium silicate had been put on very sparingly, you should cover it completely with the vernice bianca before varnishing."


13 October 2009

ground and preparation

Today a package from Hammerl arrived containing the varnish (öllack la, colorless), siccative and porefiller and liquid for mixing the filler.
So everything is there to start some experiments.
I ordered prorefiller in 'nut' color. That is open to interpretation.
According to instruction by Hammerl the filler should be applied to the raw (on-grounded) wood.
I applied some of the filler to a small piece of nut of partly light and partly darker wood. The porefiller can impossibly adapt to the surrounding colour so it can at bast fit with one of the colors. Tomorow after drying and sanding we'll see if the result is acceptable.

I think the ground will be egg-white based. No sure if I'll use pure egg-white or a 'vernice bianca'

A nice page about varnish and grounds can be found at http://www.leroydouglasviolins.com/varnish.htm

10 October 2009

Fingerboard fitted


Tonight I glued the fingerboard.
Yesterday evening I made a thin wedge and glued it to the neck to get the required angle (and resulting down bearing ratio....)

Now the fingerboard is fitted next job will be the shaping of te neck to its final form. One can see on the photo that the neck is still rectangular. This makes it a lot easier to clamp the fingerboard. There is however still a lot of wood to be removed....
The neck will be a lot thicker than in later models. The drawing of the Linarol shows a nearly parabolic cross-section of the neck.
(3.5 cm near the nut to 6.5 cm at the beginning of the heel)


Tomorrow when the clamps are removed I'll add another picture.

07 October 2009

About varnish, wax, oil....

Time to think about what to use as finish.

Choices for finish: A hardening wax, oil, oil varnish....
Possible grounds: glue, eggwhite, ...

A wax could fill the pores of the walnut achieving a smooth surface. Oil would show the structure/pores of the wood.
After filling the pores with a suitable filler an oil varnish could result in a fine smooth and durable surface.
On my other instruments the danish-/tung- oil was very successful.

I have ordered oil varnish (la-type) and pore-filler from Hammerl. If filling the pores of the body is succesful I'll use varnish on body and top. If not I'' use varnish on the top and wax on the body (Preferably a ax that hardens completely).
It'll be the first time to handle oil varnish, so I'll do some experiments on leftovers first.....

In the meantime I'll finish the fingerboard and the neck an make the tuning pins.
I hope to start varnishing in about a week....

prepairing the fingerboard

The fingerboard will be made of a lighter piece of the walnut.
According to the expert opinion of my daughter the dark colour of the inner part would distract too much from the dragon....

As far as I can see from the drawing the radius of the curving of the fingerboard is approximately 9 cm at the nut as well as on the other end. More or less cylindrical. The bridge would also get nearly the same radius (9.5 cm?)
A small drawing of a possible bridge (5.5 cm high in te middle) with a radius of 9.5 cm on the surface of the top shows that all strings would be perfectly reachable with the bow.

Thus I'll make the fingerboard 'cylindrical' with a radius of aprox. 9 cm.

30 September 2009

Not too much news today.
Removed the clamps and straps.
Seams are not invisible but the result is all right I think.

29 September 2009

Fitting the neck


After pre-glueing yesterday I glued the neck to the body tonight. It took some ingeniouity to apply pressure to all surfaces but I think I succeded. One strap around the body and the heel and another over the pegbox. To increase the tension of the straps I put other straps across them.

Clamping the heel to the bottom was easy.